Check compatibility
Most phones from the last few years support eSIM. Confirm yours does before buying a plan.
| MAKER | SUPPORTED FROM |
|---|---|
| Apple | iPhone XS and every model after it, 2018 onward |
| Pixel 3 and every model after it | |
| Samsung | Most Galaxy S, Z and Note flagships from the last few generations |
| Huawei | Select newer flagship models only |
02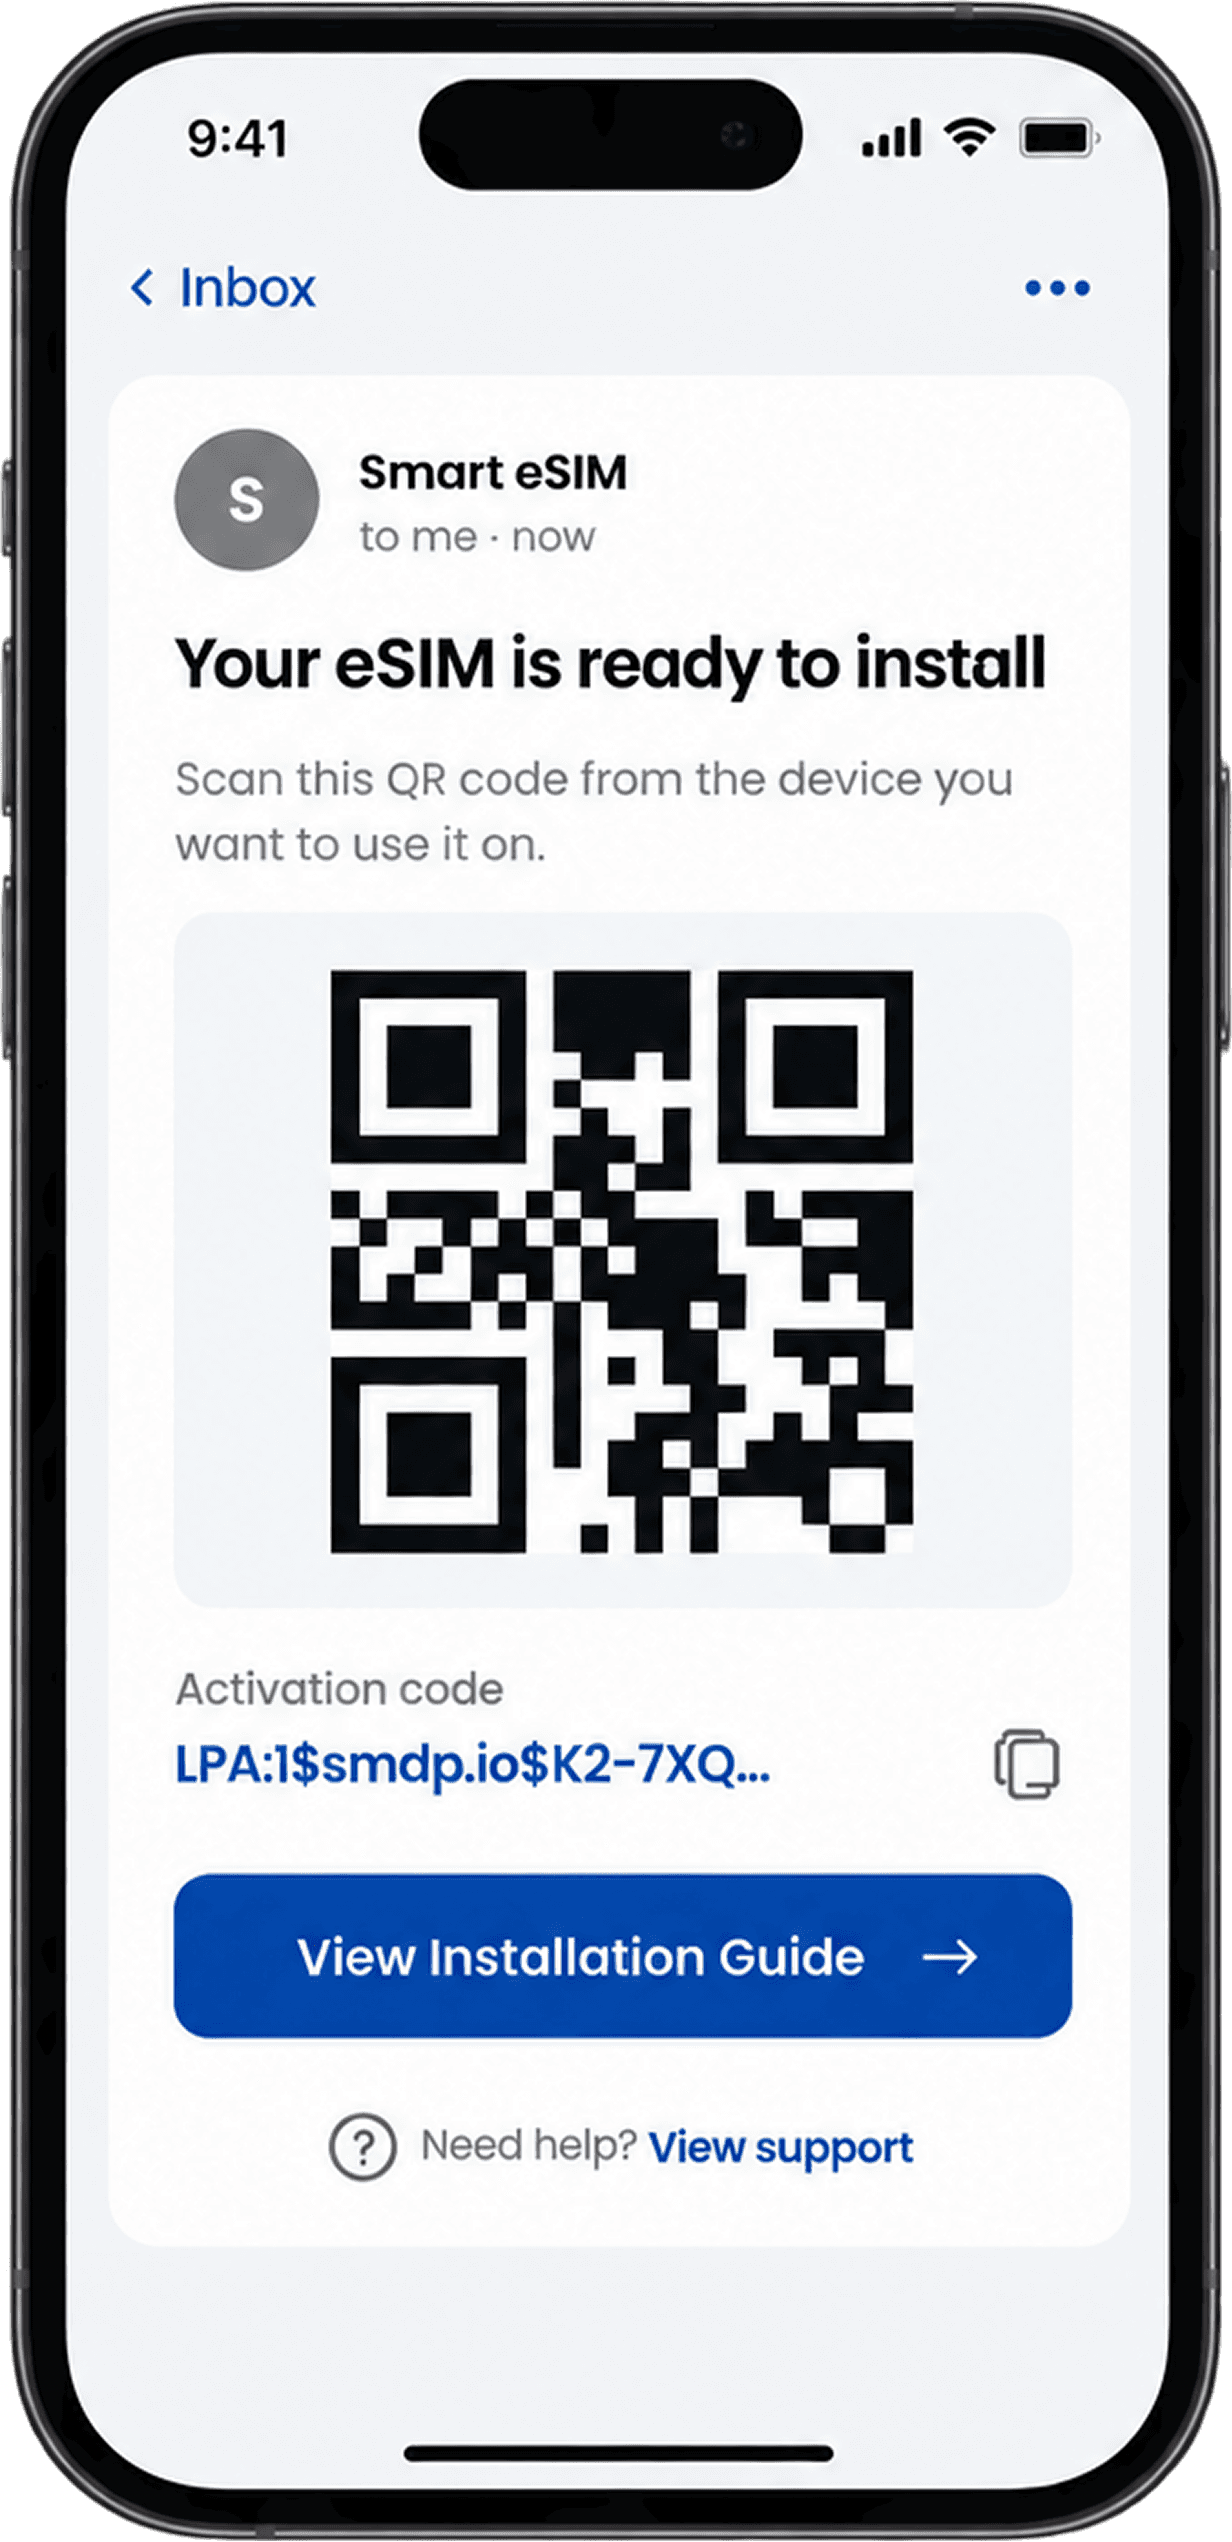
Install the eSIM
The menu wording differs slightly by device. The sequence is the same either way.
After installing
Three settings account for almost every "it’s not working" message.
- A
Data roaming is on, specifically for this eSIM
It’s a separate toggle from your main SIM’s roaming setting, so switching one on doesn’t switch on the other.
- B
The eSIM is set as your data line
If your phone still points mobile data at your old SIM, data won’t move over on its own. Set it manually.
- C
You installed early, activated on arrival
Scanning the code any time after purchase is fine. Most plans start their validity countdown only once they connect to a network for the first time.
Troubleshooting
The fixes below resolve most setup issues.
Questions
Quick answers to what travelers ask most.
 Trustpilot